10 Ways to Arrange Multiple Prints Like a Pro: Gallery Wall Mastery
Share
10 Ways to Arrange Multiple Prints Like a Pro: Gallery Wall Mastery
Creating a stunning gallery wall with multiple prints is one of the most impactful ways to transform any space. Whether you have a collection of art prints, family photos, or mix of both, these professional arrangement techniques will help you create wall displays that look curated and intentional rather than haphazard.
1. The Classic Grid Layout
The grid arrangement is timeless, sophisticated, and works in any room. This method involves arranging your prints in perfect rows and columns with equal spacing between each piece.
When to Use Grid Layouts:
- Modern and minimalist spaces
- Home offices and professional settings
- Collections of similar-sized prints
- When you want a clean, organized look
Pro Tips for Grid Success:
- Use identical frames for maximum impact
- Maintain 2-3 inches between each print
- Start with the center pieces and work outward
- Use a level and measuring tape for perfect alignment
Grid layouts work exceptionally well with series of prints, such as botanical illustrations, architectural photography, or abstract art collections.
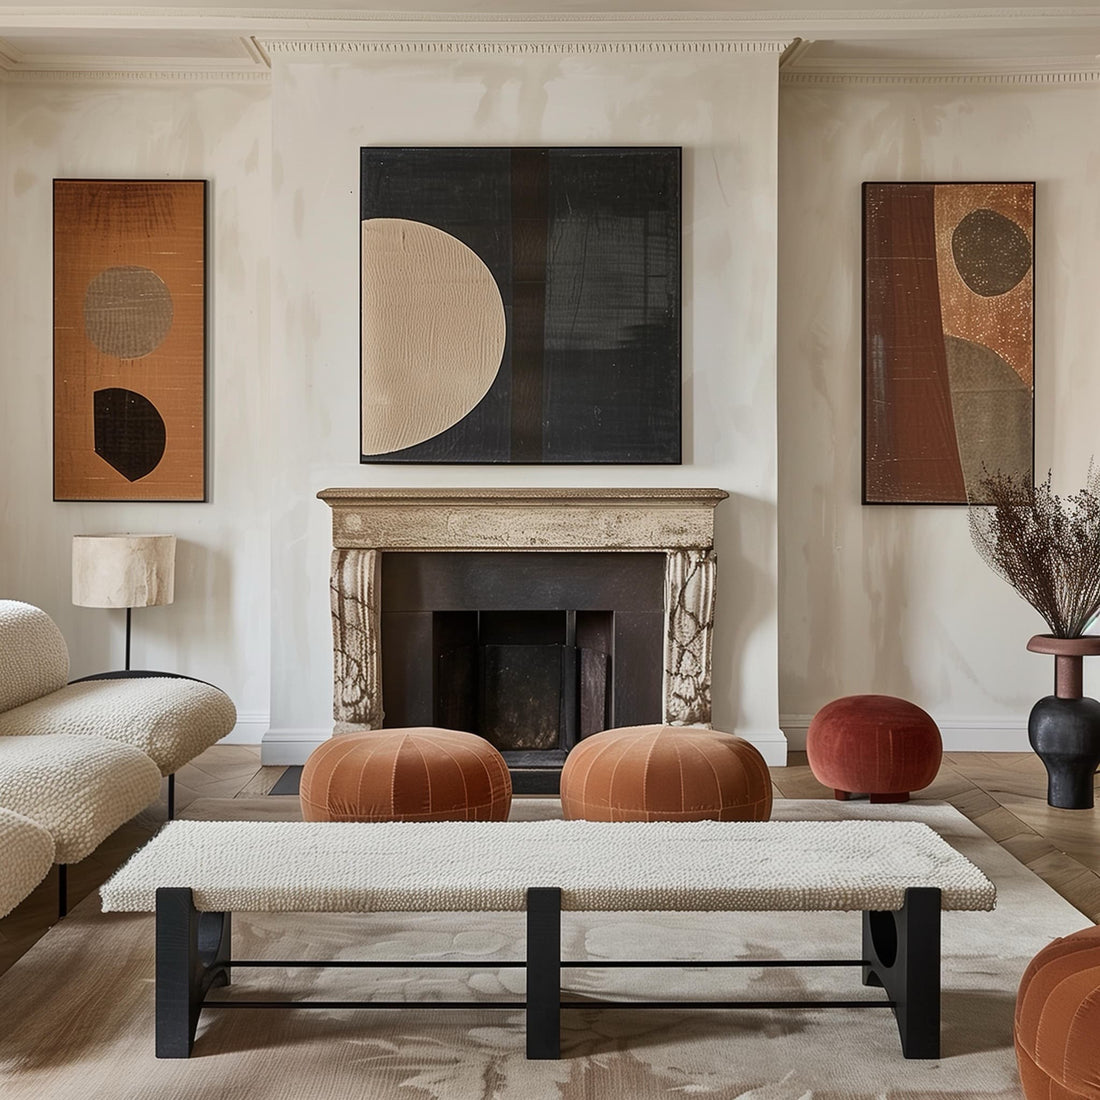
2. The Salon Style Wall
Inspired by 18th-century European salons, this arrangement style fills the wall from floor to ceiling with prints of various sizes, creating a rich, layered look.
Creating Your Salon Wall:
- Mix different frame sizes and orientations
- Include 2-3 anchor pieces (larger prints) as focal points
- Fill spaces with smaller complementary pieces
- Maintain consistent spacing between all frames
Color Coordination Tips:
- Stick to a cohesive color palette
- Use similar frame finishes throughout
- Balance dark and light pieces across the wall
This style works beautifully in living rooms, hallways, and dining rooms where you want to create visual drama and showcase a large collection.
3. The Symmetrical Balance Approach
Symmetrical arrangements create a sense of order and calm, perfect for bedrooms and formal spaces.
Two Types of Symmetrical Arrangements:
Mirror Symmetry: Create identical arrangements on either side of a central focal point (like a bed or fireplace).
Balanced Asymmetry: Use different pieces that have similar visual weight on each side.
Achieving Perfect Balance:
- Consider both size and color when balancing pieces
- Dark prints have more visual weight than light ones
- Larger frames can be balanced by multiple smaller ones
4. The Flowing River Layout
This organic arrangement creates a flowing line of prints that guides the eye naturally across the wall.
Creating the Flow:
- Start with your largest piece as an anchor
- Connect pieces through an imaginary flowing line
- Vary heights to create movement
- Use the rule of odd numbers (groups of 3, 5, or 7)
This layout works particularly well in hallways, stairwells, and long walls where you want to create visual movement.
5. The Triangle Formation
Based on the principle that triangles are naturally pleasing to the eye, this arrangement uses the triangle as the foundational shape.
Building Your Triangle:
- Place your largest or most eye-catching print at one point
- Create the triangle shape with medium-sized pieces
- Fill in with smaller prints while maintaining the overall triangular silhouette
Triangle arrangements work well above sofas, beds, and in corners where you want to draw the eye upward.
6. The Picture Ledge Method
Using floating shelves or picture ledges allows for flexible arrangements that can be easily changed.
Advantages of Picture Ledges:
- No nail holes in walls
- Easy to rearrange seasonally
- Can layer prints for depth
- Accommodates various frame sizes
Styling Ledge Arrangements:
- Layer prints in front of each other
- Mix in small decorative objects
- Vary heights by leaning prints at different angles
- Use odd numbers of items per shelf
7. The Around-the-Corner Wrap
This technique involves continuing your gallery wall around corners, creating a cohesive flow throughout connected spaces.
Planning Corner Arrangements:
- Choose pieces that complement each other across the corner
- Maintain consistent spacing as you turn the corner
- Use similar frame styles throughout
- Consider the viewing angles from different positions in the room
This approach works beautifully in open-plan homes where rooms flow into each other.
8. The Stairway Gallery
Transform your stairway into a dynamic gallery space with prints that follow the angle of the stairs.
Stairway Arrangement Rules:
- Maintain consistent height from the stair steps (usually 60 inches from each step to the center of the frame)
- Use the handrail as a guide for alignment
- Mix sizes while following the upward flow
- Ensure pieces are securely mounted for safety
Safety Considerations:
- Use heavy-duty hanging hardware
- Avoid placing large pieces where they might be bumped
- Consider the viewing angle from both directions
9. The Themed Collection Display
Group prints by theme, color, or style to create cohesive mini-galleries within larger spaces.
Popular Themes for Collections:
- Black and white photography
- Botanical prints
- Travel and landscape art
- Abstract color studies
- Vintage poster collections
Creating Cohesive Themed Displays:
- Use consistent matting or frame colors
- Vary sizes within the theme
- Group in odd numbers when possible
- Leave breathing room around themed collections
10. The Mixed Media Approach
Combine different types of wall art – prints, posters, mirrors, and small shelves – for a dynamic, personalized display.
Elements to Include:
- Various sized art prints
- Small floating shelves with objects
- Mirrors to add light and depth
- Different frame materials and finishes
Maintaining Cohesion:
- Stick to a limited color palette
- Repeat similar shapes or styles
- Balance different elements across the arrangement
- Use consistent spacing between all elements
Professional Planning Techniques
The Paper Template Method: Before hanging anything, cut paper templates of each frame and arrange them on the floor. This allows you to experiment with layouts without making holes in your walls.
The Painter's Tape Trick: Use painter's tape to outline frame positions on the wall. Step back and live with the arrangement for a day before committing to nail holes.
The Photo Preview: Take photos of your template arrangements and view them on your phone. This gives you a fresh perspective and helps identify any spacing or balance issues.
Common Arrangement Mistakes to Avoid
Hanging Too High: The center of your arrangement should be at eye level (57-60 inches from the floor).
Inadequate Spacing: Prints hung too close together look cramped; too far apart looks disconnected. Aim for 2-3 inches between pieces.
Ignoring Furniture: Your gallery wall should relate to the furniture below it. Leave 6-8 inches between the top of furniture and the bottom of your lowest frame.
Rushing the Process: Great gallery walls take time to plan and execute. Don't rush the process.
Lighting Your Gallery Wall
Proper lighting can make or break your gallery wall arrangement:
Natural Light Considerations:
- Avoid direct sunlight that can fade prints
- Consider how light changes throughout the day
- Use UV-protective glass for valuable pieces
Artificial Lighting Options:
- Picture lights for individual pieces
- Track lighting for flexibility
- Wall washers for even illumination
Maintaining Your Gallery Wall
Regular Maintenance:
- Dust frames monthly
- Check for level periodically (houses settle)
- Rotate pieces seasonally to prevent fading
- Update arrangements as your collection grows
Seasonal Updates: Consider changing out a few pieces seasonally to keep your gallery wall fresh and interesting.
Creating a professional-looking gallery wall takes planning, patience, and practice. Start with one of these arrangement styles that appeals to you, and don't be afraid to adjust as you go. Remember, the best gallery walls tell a story and reflect the personality of the people who live there.
The key to success is taking time to plan your arrangement before making any holes in the wall. Use these professional techniques, trust your instincts, and create a wall display that brings you joy every time you see it.
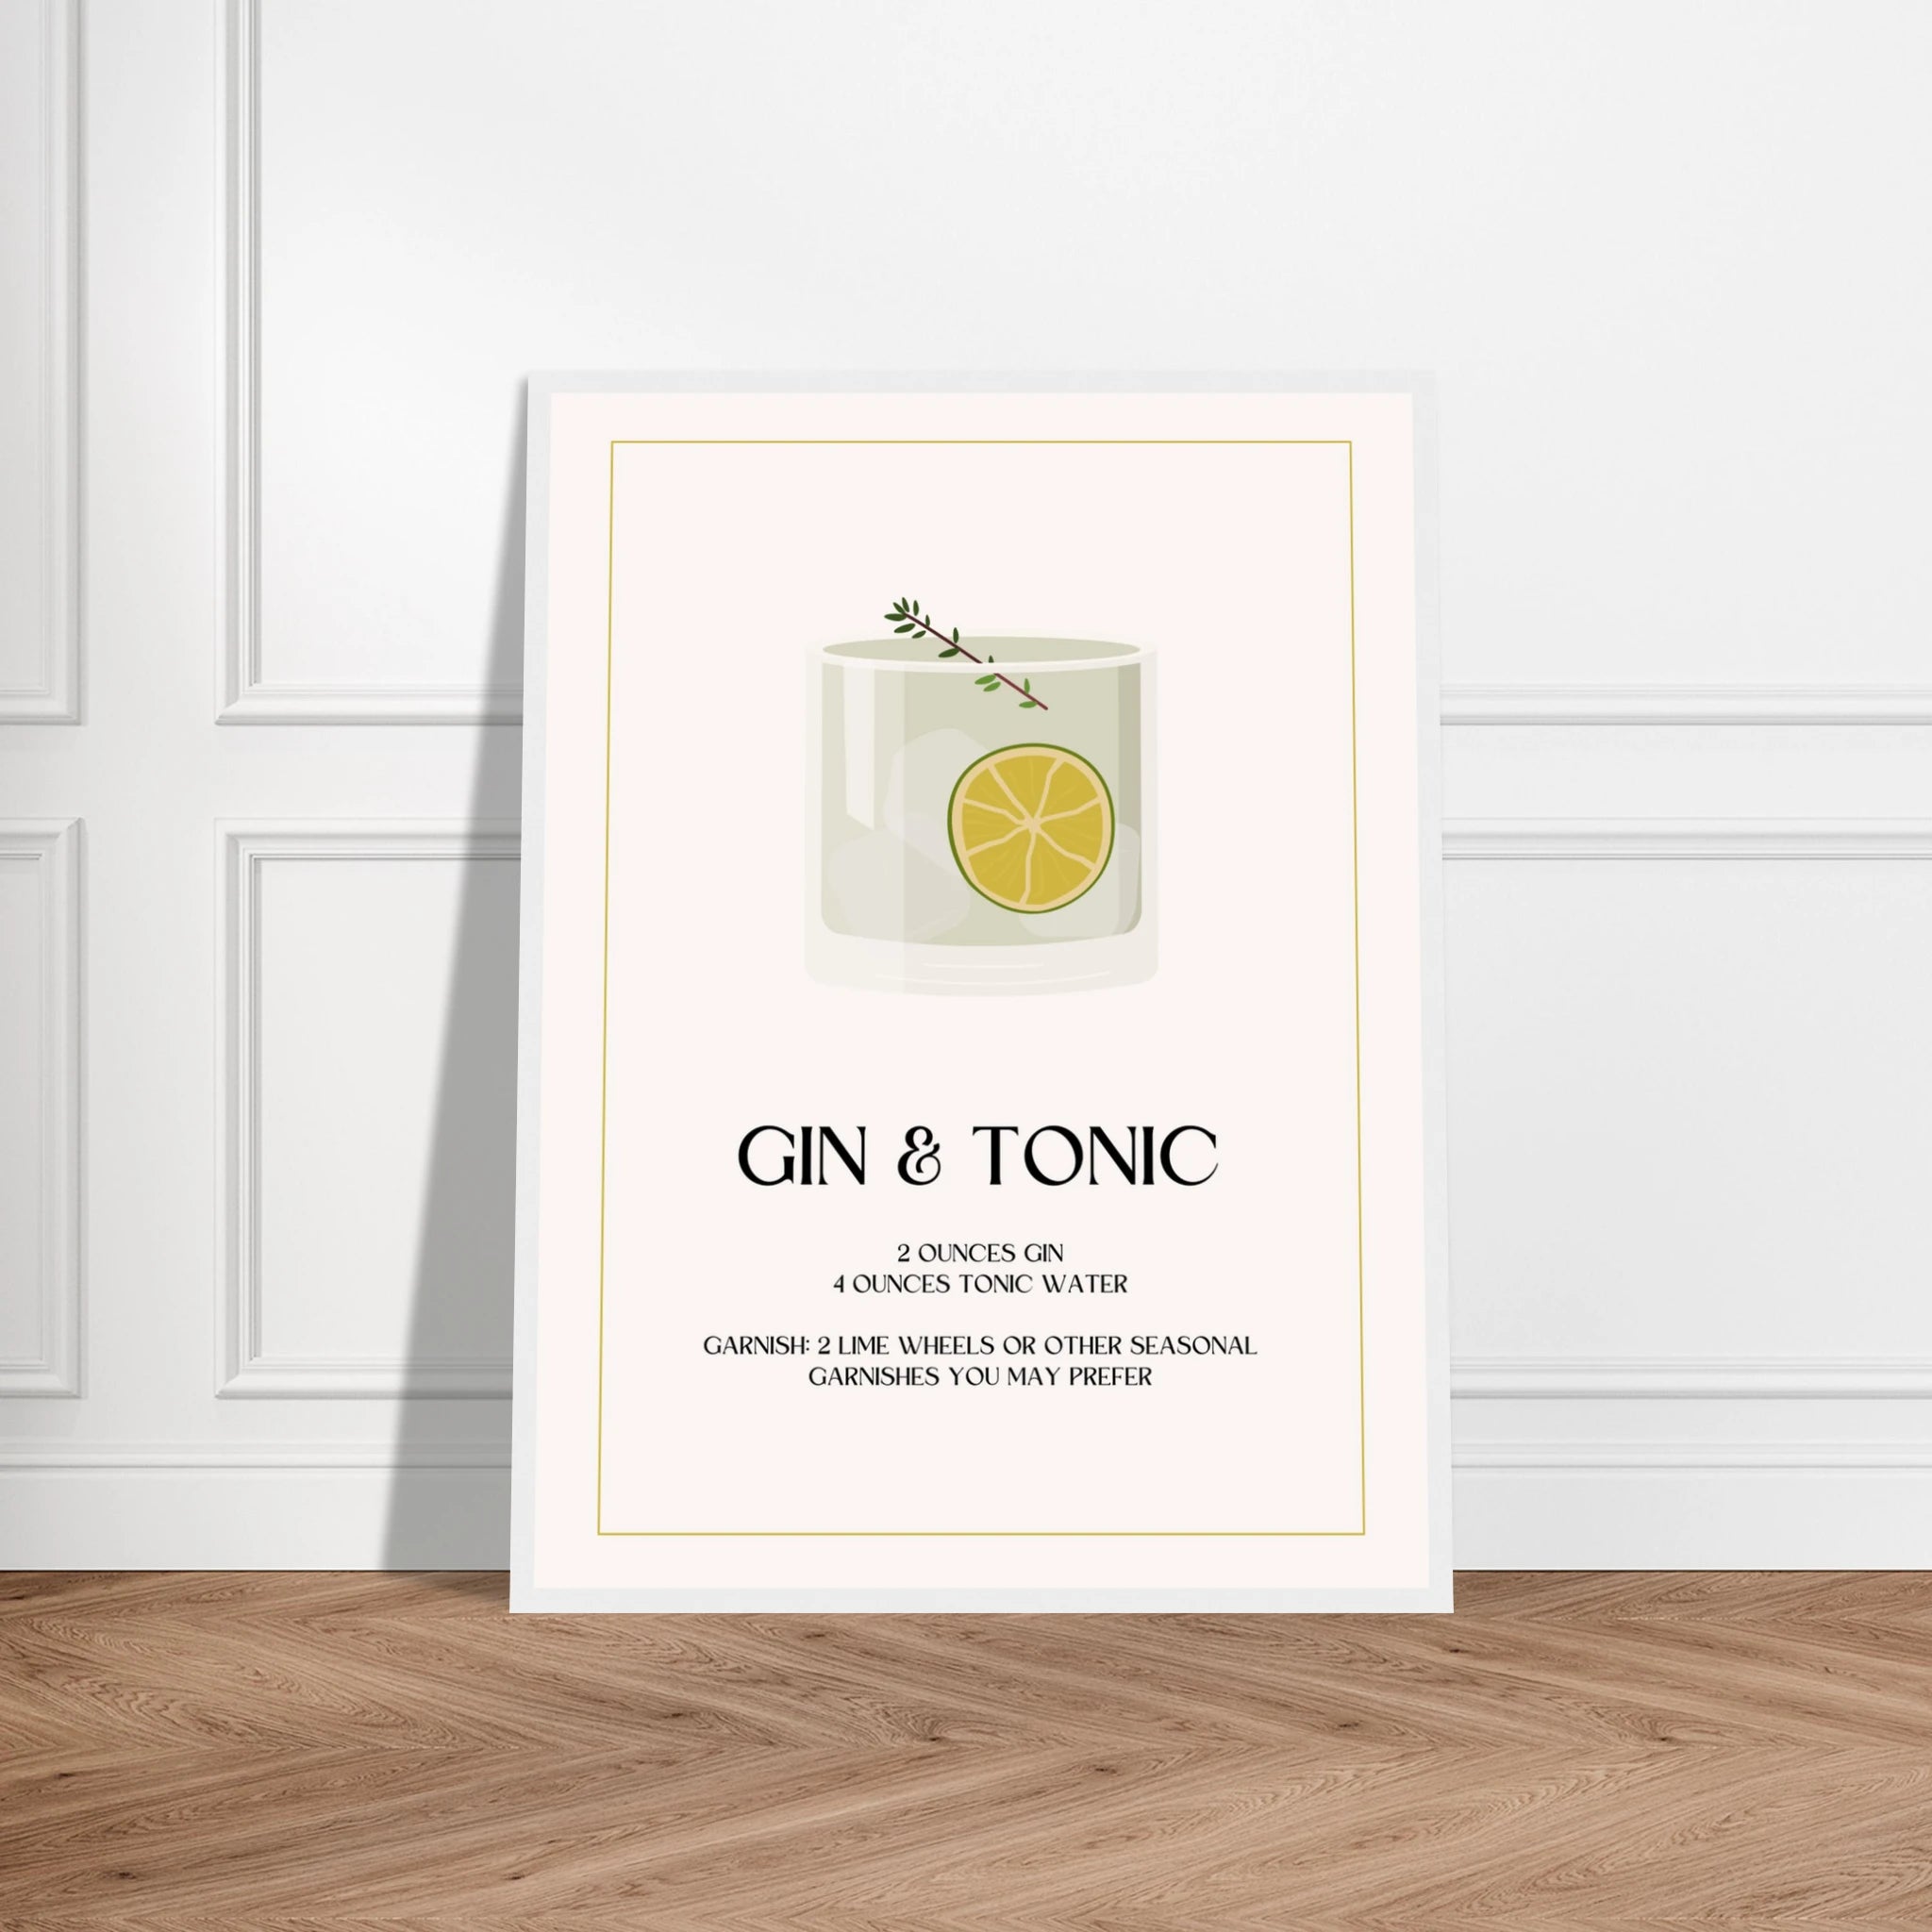
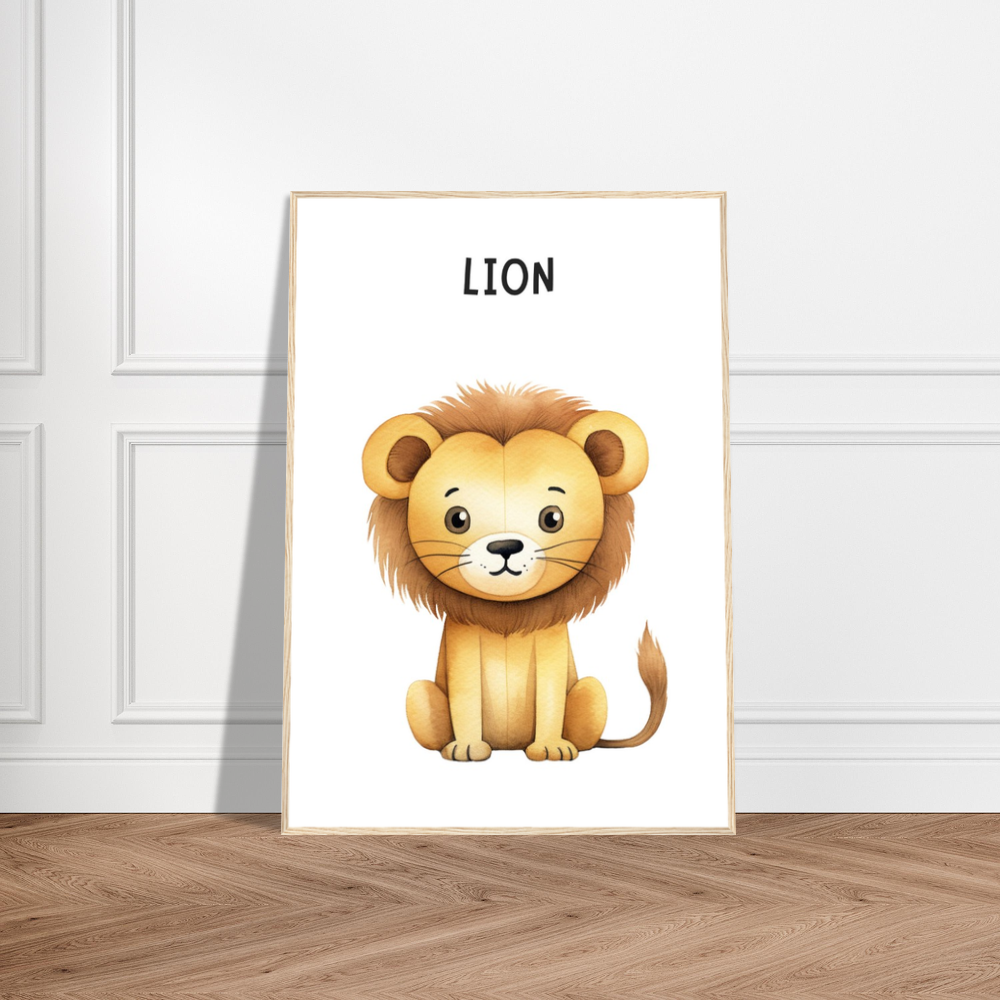
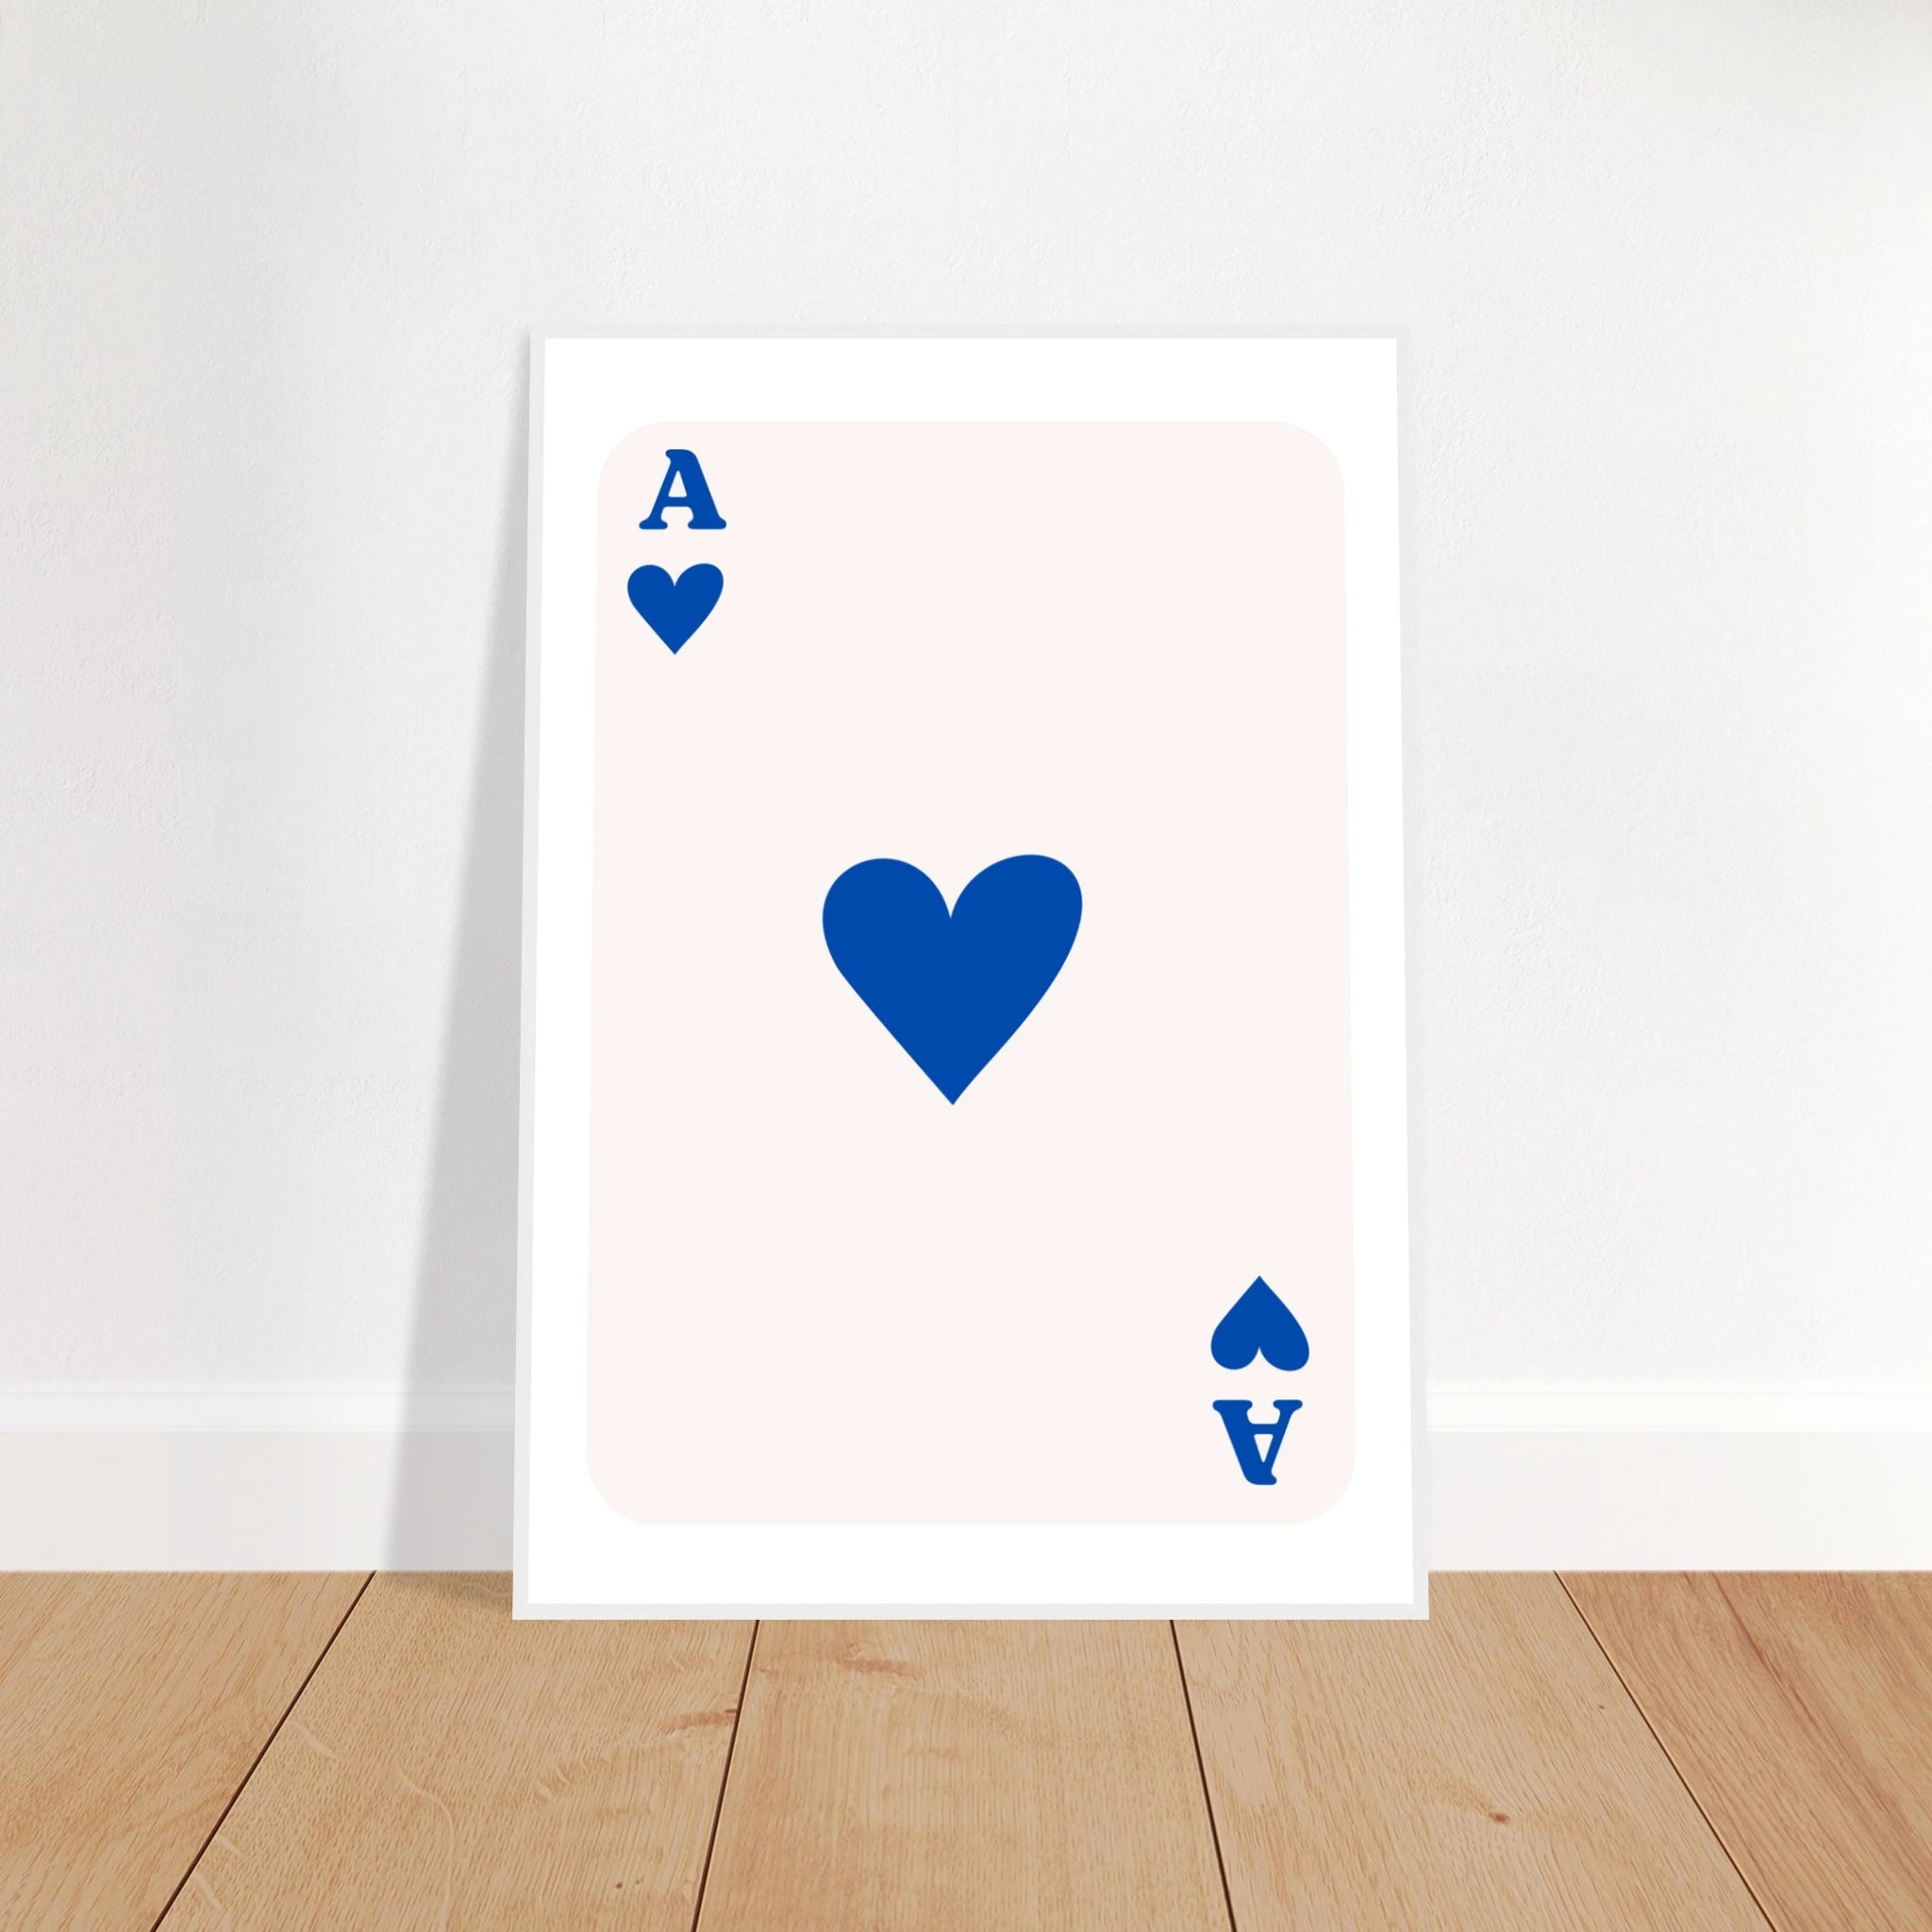
Ready to create your own stunning gallery wall? Explore our collection of high-quality prints available in multiple sizes, perfect for any arrangement style you choose.