

Artwork for Printing Guide: Essential Steps for 2025
The difference between a flawless print and a costly mistake often comes down to how you prepare your artwork for printing. As we step into 2025, mastering these steps is more critical than ever for anyone who wants professional results.
This guide will make the process simple, from understanding file types to nailing color management and resolution. You will also learn how to set up bleed, trim, and safe zones, as well as how to proof your work and stay ahead of new trends.
Avoid common pitfalls, achieve stunning results, and follow our step-by-step roadmap for print-ready success.
Understanding Artwork File Basics
Preparing artwork for printing in 2025 requires a clear understanding of the technical and creative standards that ensure your project prints flawlessly. Designers must know what makes a file print-ready, which elements to include, and how to avoid the most common pitfalls. Let’s break down the essentials step by step.
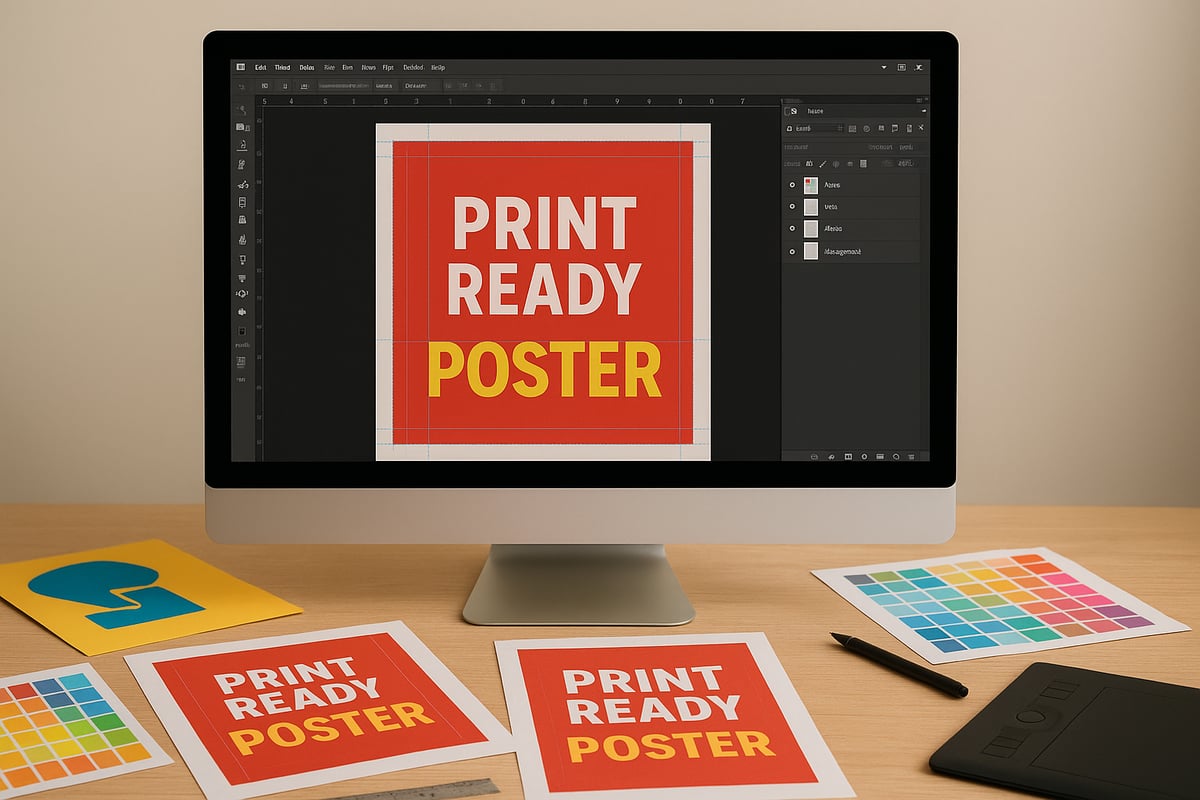
Defining Print-Ready Artwork
Print-ready artwork for printing in 2025 means your design file meets all technical requirements for flawless production. Unlike digital graphics, print files must account for physical dimensions, color modes, and finishing processes. The main difference lies in factors like CMYK color, bleed, and resolution, which are crucial for output quality.
Common errors include submitting files in RGB instead of CMYK, missing bleed, or using low-resolution images. For example, uploading a digital banner without bleed can cause white edges after trimming. Understanding what makes artwork for printing ready is the foundation for professional results.
Key Elements of a Print File
A print file contains multiple components that determine print quality. Layers help organize your design, but should be flattened before sending to the printer to prevent compatibility issues. Fonts must be embedded or outlined so text remains consistent, avoiding unwanted substitutions.
Images in artwork for printing can be either raster or vector. Raster graphics are pixel-based and best for photos, while vector graphics are ideal for logos and illustrations due to scalability. A real case: a poster print failed when the designer forgot to embed a custom font, resulting in a generic substitute on the final product.
Standard File Formats for Printing
The right file format ensures your artwork for printing is processed accurately. PDFs, especially PDF/X-4, are the industry standard for most print jobs due to their reliability and support for color profiles and layers. TIFF and EPS are also widely used for high-quality images and vector artwork, while AI and PSD files are suitable for in-house editing.
JPEG is generally discouraged for artwork for printing because it uses lossy compression, which can degrade quality. In 2024, 85% of commercial printers preferred PDF/X-4 for its balance of compatibility and precision, making it the safest choice for most print projects.
| File Format | Best Use Case | Pros | Cons |
|---|---|---|---|
| PDF/X-4 | General print jobs | Reliable, preserves quality | Large file size |
| TIFF | High-res images | Lossless, detailed | Not for vectors |
| EPS | Vector graphics | Scalable, editable | Limited transparency |
| AI/PSD | Editable design files | Layer support | Not always print-ready |
| JPEG | Photos (rarely print) | Small file size | Lossy, lower quality |
Artwork Dimensions and Sizing
Getting the dimensions right from the start is key for any artwork for printing. Each print product, from posters to business cards, has standard sizes that must be set before you design. Popular poster sizes include 18x24 inches and 24x36 inches, while flyers often measure 8.5x11 inches.
Incorrect sizing can lead to critical issues, such as artwork being cropped or resized incorrectly by the printer. For inspiration and practical advice on arranging printed artwork, check out these gallery wall layout ideas. Always confirm measurements with your print provider’s templates to avoid unpleasant surprises.
Common Mistakes in Artwork Files
Avoiding mistakes in artwork for printing saves time, money, and frustration. The most frequent errors are low-resolution images, missing bleed, and incorrect color profiles. Print service providers report that files submitted at 72 DPI instead of 300 DPI often result in pixelated prints.
Another common issue is missing or unembedded fonts, which can cause unintended font substitutions. Forgetting to convert colors from RGB to CMYK leads to inaccurate hues on the final print. To learn foundational advice on selecting and preparing art for print, see how to choose wall art. Double-check every aspect before submitting your artwork for printing to ensure professional results.
Color Management and Resolution Essentials
Achieving flawless print results starts with mastering color and resolution. For anyone preparing artwork for printing, understanding how digital colors translate to paper, and ensuring images are sharp and accurate, is crucial. Small technical oversights can lead to costly mistakes and disappointing outcomes.
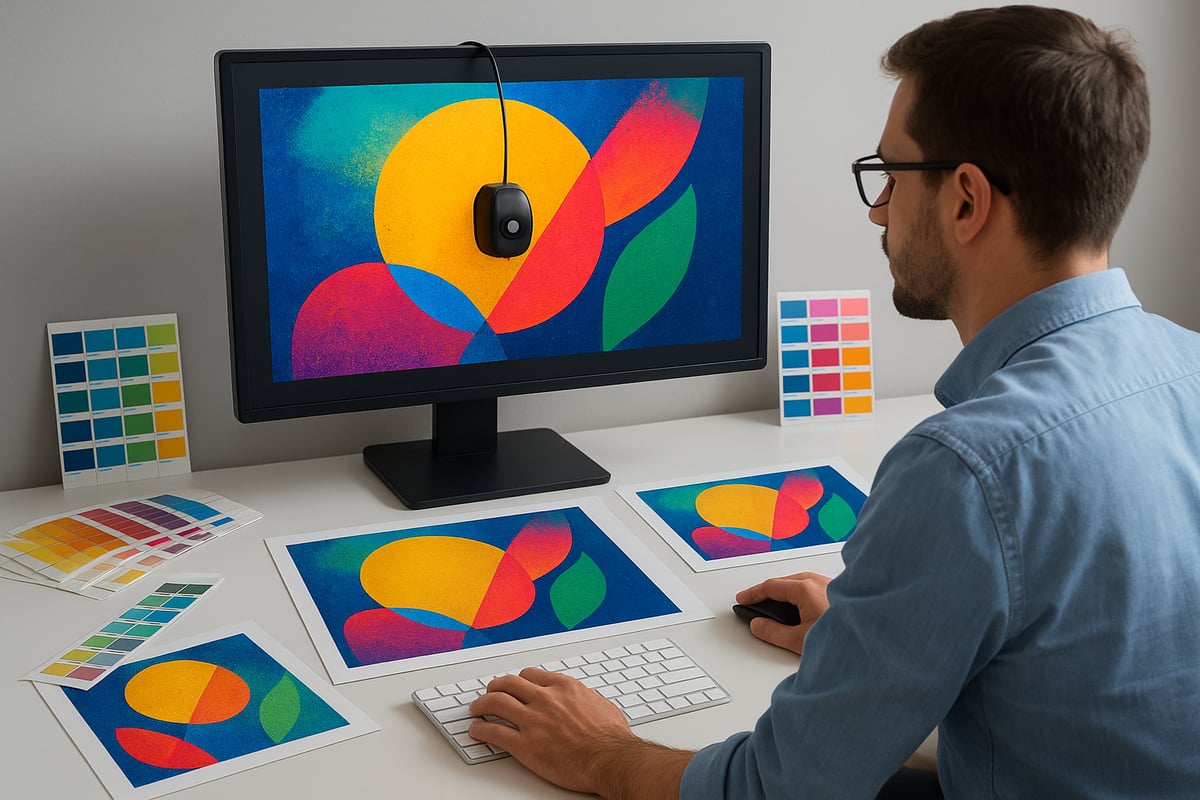
Understanding Color Modes: CMYK vs. RGB
When preparing artwork for printing, always design in CMYK color mode, not RGB. Most digital screens use RGB, which appears brighter, but printers require CMYK for accurate color reproduction. If you submit files in RGB, colors may shift unexpectedly, leading to prints that look dull or different from your screen.
For example, vibrant blues and greens in RGB can turn muted once converted to CMYK. To avoid this, set your document to CMYK from the start. This ensures what you see is closer to what you get in the final print, maintaining the integrity of your artwork for printing.
Setting Up Color Profiles
Color profiles, especially ICC profiles, control how colors are interpreted on different devices. For artwork for printing, embedding the correct ICC profile is essential for consistent results across monitors and printers. Adobe products allow you to assign and embed color profiles easily, ensuring color fidelity.
In 2024, 92% of print shops reported color profile mismatches as a leading issue causing reprints. Always check your print provider’s recommended profile, such as FOGRA39 or US Web Coated SWOP. Staying updated with 2025 Print Design Trends: Sustainability, Tech & Personalization Insights can help you align your color management practices with industry standards for artwork for printing.
Image Resolution Requirements
Print quality hinges on proper image resolution. For artwork for printing, the industry standard is 300 DPI (dots per inch) for sharp, professional results. Posters, business cards, and flyers all benefit from high-resolution images. Using 72 DPI, which is standard for web, leads to blurry, pixelated prints.
Here is a quick comparison:
| Print Size | Minimum DPI | Result Quality |
|---|---|---|
| Business Card | 300 | Crisp, clear text |
| Poster (A2, A1) | 300 | Sharp details |
| Large Banner | 150–200 | Acceptable at distance |
Always check each image’s resolution before finalizing your artwork for printing.
Managing Linked and Embedded Images
Linked images in your design file can cause issues if not properly managed. When sending artwork for printing, missing or low-resolution linked images often result in empty spaces or pixelated prints. To prevent this, embed all images directly into your design file or package your assets together.
A common pitfall is updating an image on your computer but not relinking it in your document. Always use your design software’s preflight tools to verify that all links are up to date. This step is vital to ensure your artwork for printing is complete and error-free.
Soft Proofing and Color Accuracy
Soft proofing lets you preview on screen how your artwork for printing will appear once produced. Tools like Adobe Acrobat and Photoshop offer soft proofing, simulating the final print colors. For accuracy, calibrate your monitor regularly and set its brightness to match typical print conditions.
Soft proofing helps catch issues like color shifts or contrast loss before files go to print. This proactive approach saves time and avoids surprises, ensuring your artwork for printing matches your creative vision and client expectations.
Spot Colors and Pantone Matching
When exact brand colors are required, spot colors and the Pantone Matching System (PMS) are invaluable for artwork for printing. Spot colors provide consistency across print runs, especially for logos and brand materials. In 2025, 60% of brand managers require Pantone-matched prints for critical projects.
Use spot colors when your design features specific hues that must remain consistent, regardless of printer. Always communicate your chosen Pantone codes to your print provider. This attention to detail ensures your artwork for printing stands out with vibrant, accurate color.
Preparing Artwork with Bleed, Trim, and Safe Zones
Preparing artwork for printing is more than just arranging images and text. To achieve a crisp, professional finish, you must pay close attention to your file's bleed, trim, and safe zones. These elements are essential for avoiding unwanted white borders, cut-off graphics, and production errors.
What is Bleed and Why It’s Crucial
Bleed refers to the area extending beyond the final size of your artwork for printing. Its purpose is to ensure that when the print is trimmed to size, no unprinted edges appear, even if the cutting process shifts slightly. Typically, a bleed of 3mm or 0.125 inches is standard.
For instance, if you want full edge-to-edge color on wall art, bleed guarantees the background color covers the entire print, even to the very edge. Without proper bleed, you risk thin white lines or uneven edges on your final product. Always set up your bleed before you start designing your artwork for printing to prevent costly mistakes later.
Setting Up Trim Lines and Safe Zones
Trim lines mark where your artwork for printing will be cut to its final size. The safe zone is a margin inside the trim line, ensuring that no important text or graphics are placed too close to the edge and potentially lost during trimming.
To set up trim and safe zones in Adobe Illustrator or other design software, add guides indicating the trim line and another set for the safe zone, usually 3-5mm inside the trim. This practice keeps headlines, logos, and key visuals safe from accidental cropping. Organizing your artwork for printing with clear trim and safe zones ensures every element appears exactly as intended.
Adding Bleed and Crop Marks in Design Software
When exporting your artwork for printing, always include bleed and crop marks. These marks guide the printer on where to trim the print and ensure that the bleed is properly used. In Photoshop, InDesign, and Illustrator, you can add these marks during export by checking the relevant boxes in the PDF or print dialog.
Including crop marks is critical, as 78% of rejected print files in 2024 lacked them. For step-by-step guidance, many affordable wall art tips also recommend starting with print-ready templates that already have bleed and crop marks set up, saving you time and reducing errors. Always double-check your file settings before sending your artwork for printing.
Checking for Alignment and Margins
Alignment and margin consistency are crucial in artwork for printing. Make sure your design is centered and balanced within the trim lines, and that all margins are equal. This prevents your print from looking off-balance or amateurish.
Use rulers and alignment tools in your design software to check spacing. For example, a misaligned business card can look unprofessional and may even be cut incorrectly. Regularly zoom out and preview your artwork for printing at different scales to catch any alignment issues early in the process.
Common Bleed and Trim Mistakes
Some of the most frequent mistakes in artwork for printing include forgetting to add bleed, placing text or logos too close to the edge, or using inconsistent margins. These errors can result in cut-off content and unsightly borders.
To avoid these pitfalls, follow a preventative checklist:
- Always add appropriate bleed before you begin.
- Keep all crucial elements within the safe zone.
- Include clear crop marks.
- Double-check alignment and margins.
- Review your file with a print preview tool.
By following these steps, you can ensure your artwork for printing is ready for flawless production and professional results every time.
Proofing, Preflight, and Final Checks
Careful proofing and preflight checks are the final steps before sending your artwork for printing. These steps safeguard your project against costly mistakes, ensuring a flawless, professional result every time. Let’s break down each essential process so you can deliver print-ready files with confidence.
The Importance of Proofing Before Print
Proofing is the last opportunity to catch errors before your artwork for printing goes to production. There are several types of proofs, including soft proofs (digital previews on screen), hard proofs (physical prints), and digital proofs (PDFs optimized for print). Each proof type serves to identify issues such as typos, color shifts, or misaligned elements.
A missed typo or color error can result in expensive reprints, especially for large runs. For example, a marketing team once discovered a misspelled headline in a poster proof, saving the company from distributing hundreds of flawed prints. Always review every element of your artwork for printing during proofing.
Preflight Checklist for Print Files
A robust preflight checklist is your safety net when preparing artwork for printing. Review these critical items before submitting your files:
- Image resolution (minimum 300 DPI)
- Embedded or outlined fonts
- Correct color profiles (CMYK)
- Bleed and crop marks
- Flattened layers
Utilize preflight tools in Adobe Creative Cloud or third-party plugins to automate these checks. According to 2024 data, preflight reviews reduce print errors by 67 percent. For designers seeking additional savings and efficiency, consider reviewing affordable wall art tips to optimize your workflow and avoid unnecessary costs.
Handling Fonts and Text
Fonts are a critical aspect of artwork for printing. Always embed or outline all fonts in your design files. This prevents font substitution, which can distort your layout or alter your branding. For instance, a brand logo once appeared incorrectly in print because the required font was missing and was replaced by a default typeface.
To avoid such issues, convert text to outlines or embed fonts directly within your PDF files. Double-check that all special characters and accents display correctly before finalizing your artwork for printing.
Checking Linked Assets and Layers
Linked images and assets must be included in your final artwork for printing. Missing or low-resolution images can cause major print failures. Always embed images in your design files or package all linked assets together when exporting.
Flattening layers is another best practice, as it ensures compatibility with commercial printers. A real-world example is a multi-page brochure that printed with blank spaces because some linked images were not included in the final file package. Always verify asset integrity before submission.
File Naming and Organization Best Practices
Organizing your artwork for printing saves time and prevents costly errors. Use clear, descriptive file names that include project type, version, and date. For example, “2025_event_poster_v3_final.pdf” is much easier to identify than “final.pdf.”
Maintain a structured folder system for drafts, proofs, and final files. This approach helps both designers and print providers quickly locate the correct version, reducing the risk of printing outdated or incorrect files.
Communicating with Your Print Provider
Clear communication with your print provider is vital for successful artwork for printing. When submitting files, include details such as desired paper type, finish, quantity, and any special instructions. Ask for the printer’s specifications and templates to ensure compatibility.
Many print projects run smoothly when clients clarify requirements and respond promptly to printer queries. In fact, 80 percent of successful print jobs in 2024 were linked to effective client-printer communication. Always confirm that your artwork for printing meets all the provider’s requirements before giving final approval.
Trends and Innovations in Artwork Preparation for 2025
Staying ahead in artwork for printing means embracing the cutting-edge trends and innovations shaping the industry in 2025. Print designers and businesses are leveraging new technologies, sustainability initiatives, and collaborative tools to elevate quality and efficiency. Understanding these advancements ensures artwork for printing remains competitive, creative, and future-proof.
Automation and AI Tools in Artwork Preparation
AI-driven tools are transforming how professionals prepare artwork for printing. From automated preflight checks to intelligent color correction, these innovations minimize human error and speed up workflows. AI can now identify missing bleed, flag low-resolution images, and even suggest optimal color profiles.
Designers benefit from smart plugins in Adobe Creative Cloud that review files for print readiness in seconds. Automation also detects font issues before files reach the printer. Using AI, teams ensure artwork for printing meets technical standards every time, reducing costly reprints and streamlining project timelines.
Sustainable Printing and Eco-Friendly File Practices
Sustainability is a major focus for artwork for printing in 2025. Designers prioritize eco-friendly practices by optimizing files for minimal ink usage and selecting recyclable paper substrates. Preparing artwork for printing with fewer solid ink blocks and lighter color densities supports environmental goals.
Many printers now request files formatted for waterless or soy-based inks. Designers should also embed clear recycling marks and certifications in their layouts. As over half of print buyers favor sustainable choices, integrating eco-conscious methods into artwork for printing is not just a trend but a necessity.
High-Resolution and Large Format Printing Demands
The demand for large wall art, banners, and murals is on the rise. Preparing artwork for printing at ultra-high resolution is crucial to avoid pixelation on oversized pieces. Files must be set at 300 DPI or higher, with careful attention to scale and clarity.
To stay on top of what's trending in large format, explore 2025 wall art trends for inspiration and technical guidance. Always use vector graphics where possible to maintain crisp lines, and double-check bleed and trim for seamless edge-to-edge color in artwork for printing.
Variable Data and Personalization in Print
Personalized prints are more accessible than ever in 2025. Variable data printing (VDP) lets designers create unique versions of artwork for printing—such as event posters or marketing flyers—with individualized names, images, or offers.
To prepare VDP files, designers use data merge features in tools like InDesign, ensuring fonts and images are properly linked. This trend increases engagement and ROI for brands, making artwork for printing not just visually appealing but also highly relevant to each recipient.
Cloud Collaboration and Remote Proofing
Cloud-based platforms are revolutionizing how teams manage artwork for printing. Designers, clients, and printers can now review, comment, and approve files in real time, regardless of location. Remote proofing tools speed up feedback cycles and reduce errors.
By centralizing assets and version histories, cloud collaboration ensures everyone works from the latest file. This workflow is especially valuable for global teams handling complex artwork for printing projects, offering transparency and efficiency from concept to final print.
Resources, Templates, and Further Learning
Finding the right resources can save time and ensure your artwork for printing meets professional standards. Whether you need templates, powerful design tools, or up-to-date industry insights, the right guidance makes all the difference.
Downloadable Print Templates and Guides
Starting with a well-crafted template streamlines the artwork for printing process. Many official print providers offer free and paid templates for common formats.
- Posters: Standard sizes with built-in bleed and trim zones.
- Flyers: Ready-to-use layouts for events or promotions.
- Business Cards: Accurate dimensions with safe zones clearly marked.
Templates reduce errors by ensuring your files meet printer specifications. Most templates are available in formats like PDF, AI, or PSD, making them easy to customize. Using a template for artwork for printing helps prevent issues with sizing, bleed, and margins, especially for complex projects.
Recommended Tools and Software for Artwork Preparation
Choosing the right software is essential for preparing artwork for printing at a professional level. Top tools include:
| Tool | Strengths | Preflight Features |
|---|---|---|
| Adobe Creative Cloud | Industry standard, robust features | Built-in & plugins |
| Affinity Suite | Cost-effective, intuitive | Limited preflight |
| Canva Pro | User-friendly, web-based | Basic checks |
Enhance your setup with preflight plugins for Adobe or third-party solutions for advanced error checking. Compare built-in versus third-party options to find the best fit for your workflow. Reliable tools help you deliver flawless artwork for printing every time.
Continuing Education and Industry Updates
Staying current helps you create artwork for printing that aligns with the latest trends and standards. Consider these options:
- Online courses and webinars: Learn new techniques and software updates.
- Industry blogs and forums: Exchange tips with fellow print designers.
- Print associations: Access to certifications and current best practices.
For an in-depth look at what's shaping print design in 2025, explore 9 Creative Print Design Trends for 2025. Keeping your skills sharp ensures your artwork for printing remains competitive in a changing market.